Experiential · Furniture Design · Craft

Building a Modular Rocking-Chair Seating System for Nursing Mothers and Caregivers

Role
Apprentice
Furniture & Graphic Designer
Client
Design Apprenticeship Program
National Building Museum
Scale
5 designer team
8 weeks
The Smithsonian National Building Museum exterior
How do you fabricate functional museum furniture with zero previous woodworking experience?
Overview
Challenge
Two months to create comfortable, modular furniture for a museum gallery tailored for caregivers and nursing mothers with a team that had no previous background in a woodshop.
Strategy
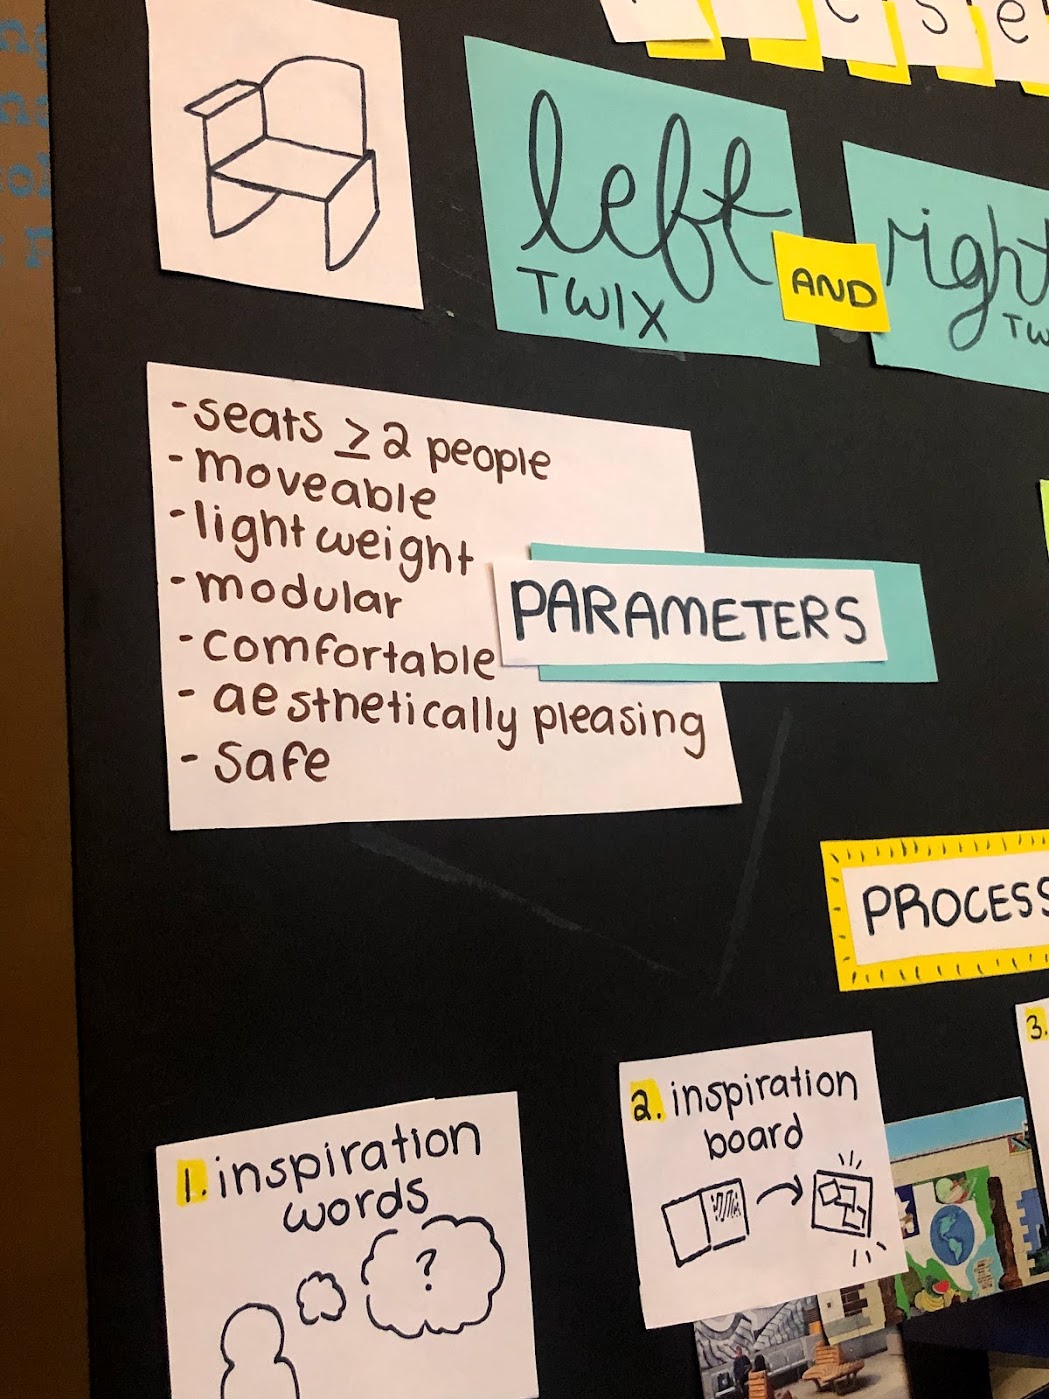
For the chair, we mapped out how pieces could move together naturally, tested the shapes with physical prototypes, and engineered the rocking curves so they felt safe and relaxing.
Solution
Fabricated two custom rocking chairs by hand. We installed the final seating system directly at the dollhouse exhibition and presented our work to the museum board.
Installed
Chairs installed at the
dollhouse exhibit for visitors to use
26,208
Visitors served,
NBM's FY24 total
Visitor total via nbm.org.
I spent a summer in NBM's Design Apprenticeship Program turning zero carpentry experience into built furniture.
Overview

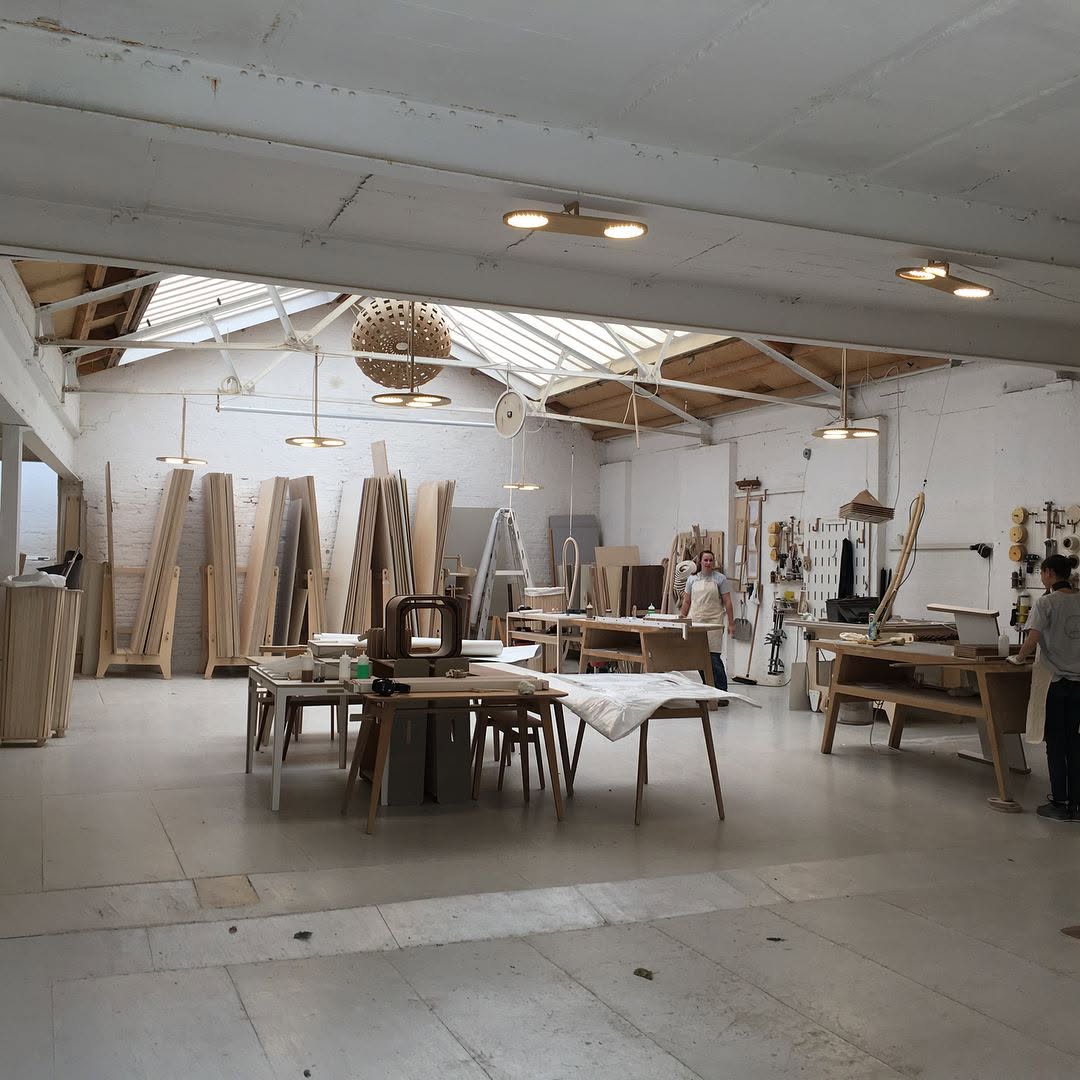
Working out of Studio231 at the National Building Museum, twenty-four of us were picked, split into small teams, and asked to design, build, and present modular seating for museum visitors

I came in with a graphic design background; by the end I'd used a table saw, a biscuit joiner, and more wood glue than I'd ever touched a physical material for a school project before.

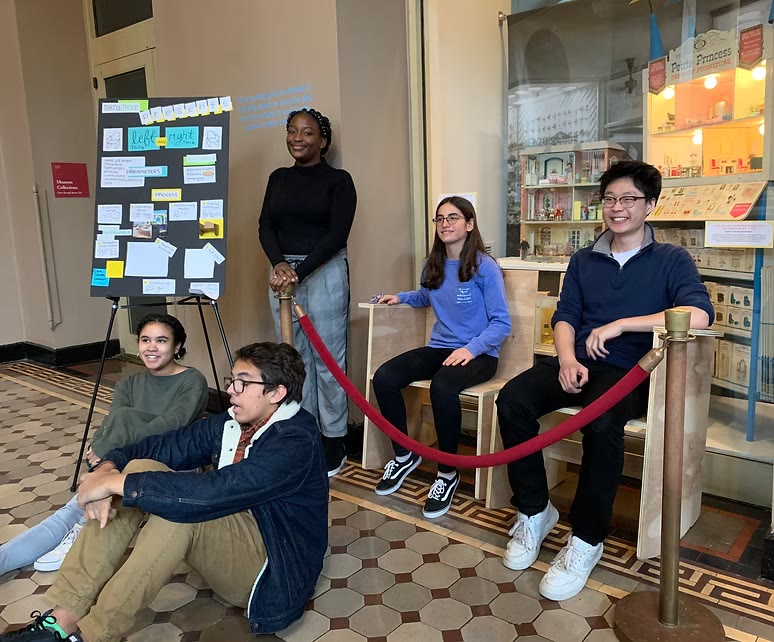
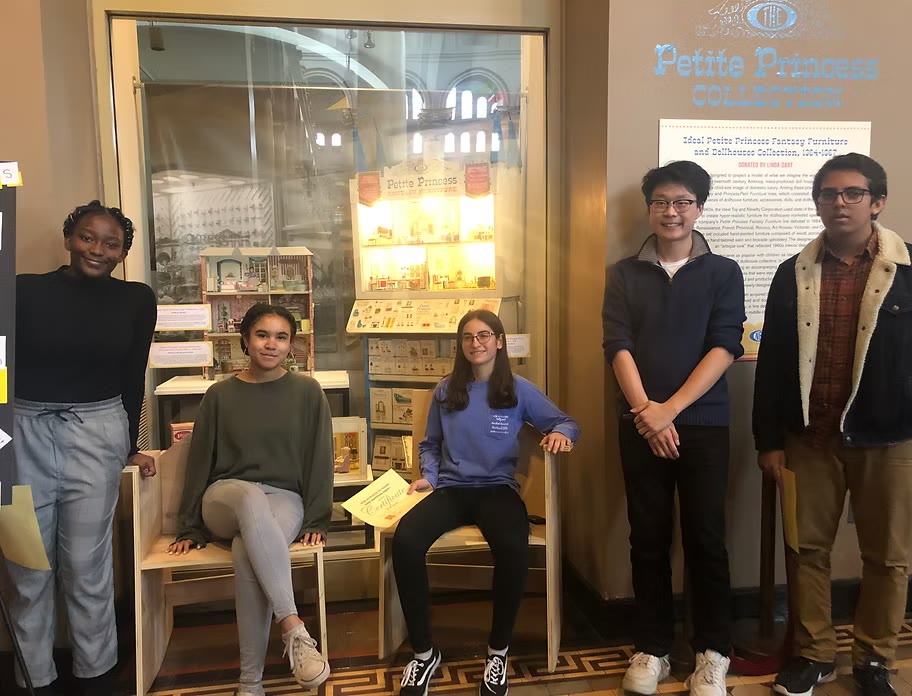
Turtle Troop, the five-apprentice team behind the rocking chairs
On a five-person team, I carried both the physical build and the graphic design.
My role
Turtle Troop team

Over eight weeks we were mentored by graphic designers, engineers, and residential planners

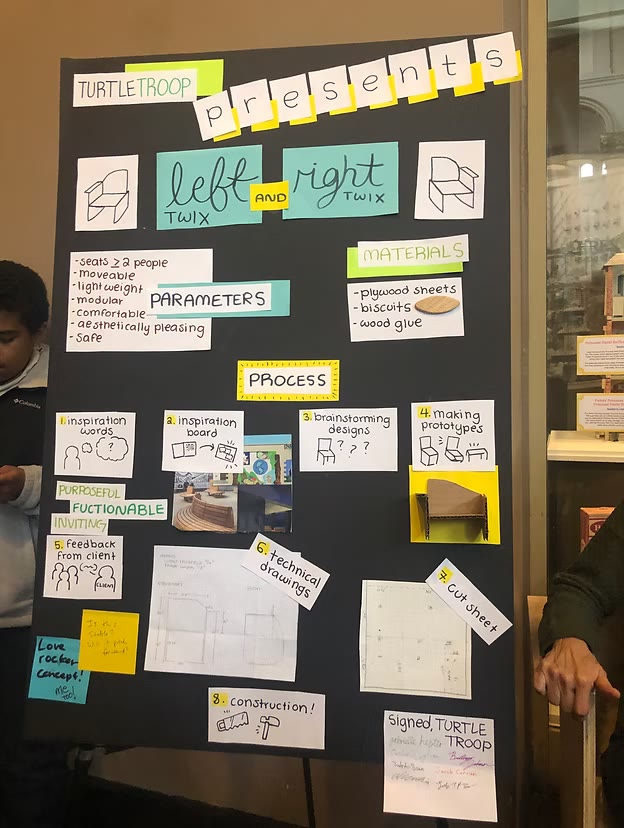
After initial guidance from these experts, I helped shape and cut the physical chair, and I was the one who illustrated our final presentation board.

I noticed museum seating was built for no audience in particular, so my team chose caregivers and nursing mothers.
The problem

Nobody had thought about the person standing in an exhibit holding a one-year-old on their hip for twenty minutes, or a nursing mother needing a calm space to breastfeed.

40%
Of US museum visitors
are parents/guardians of young kids
~20 min
Before "museum fatigue" sets
in without a place to rest
1 in 5
Parent/guardian visitors
who are museum members
Visitor demographics via AAM's 2024 Annual Survey of Museum-Goers; fatigue figure from Beverly Serrell's museum visitor-behavior research.
Having zero carpentry experience on the team meant learning the shop as we designed.
Approach

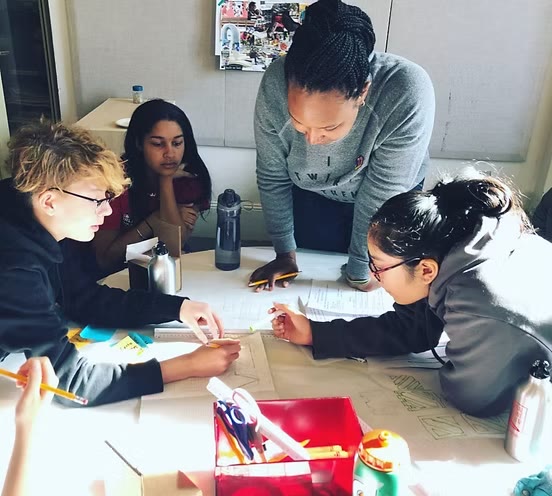
We started with sketching and talking through who we were actually designing for, then had to translate that into something that could survive being cut, glued, and sat in.

Early sketching and planning for the rocking chairs
Warming up to modularity

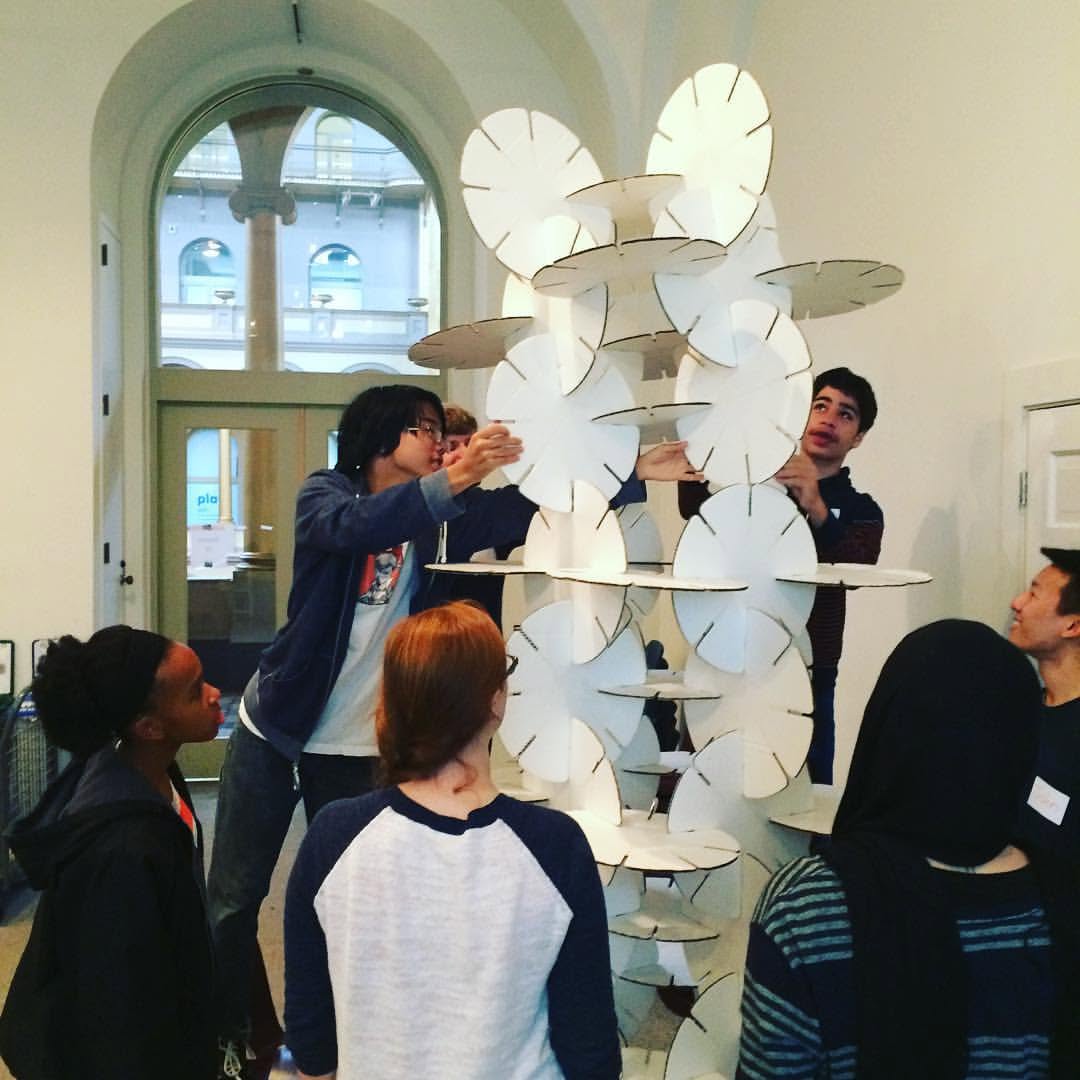
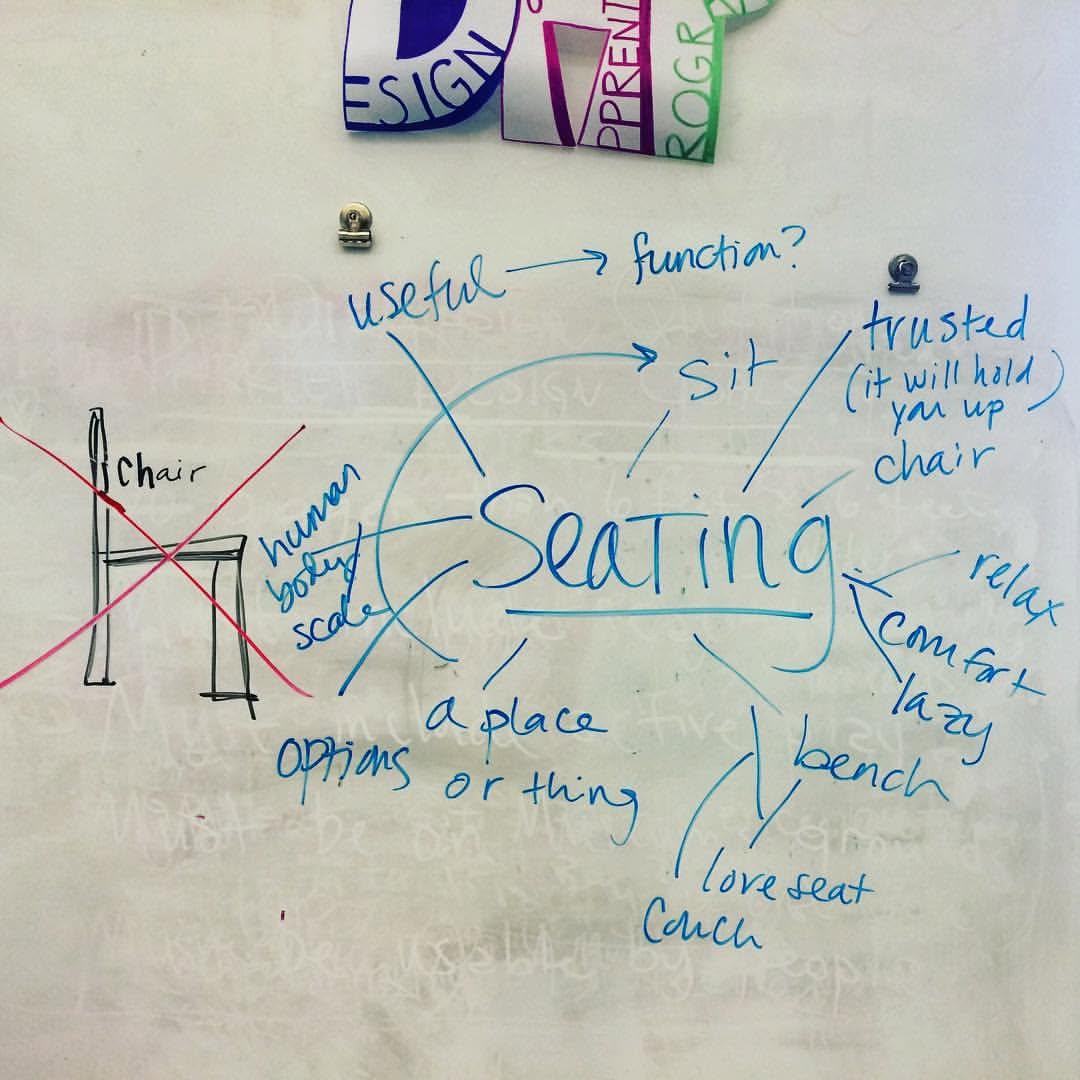
Before any of us sketched a chair, we spent a session just building things (stacking, connecting, and taking apart whatever modular pieces we had on hand), just to get our heads around what modularity actually felt like. As we worked we wrote down words and phrases that came to mind, so we had a shared vocabulary before we tried to design anything real.
Reading the museum's own pillars

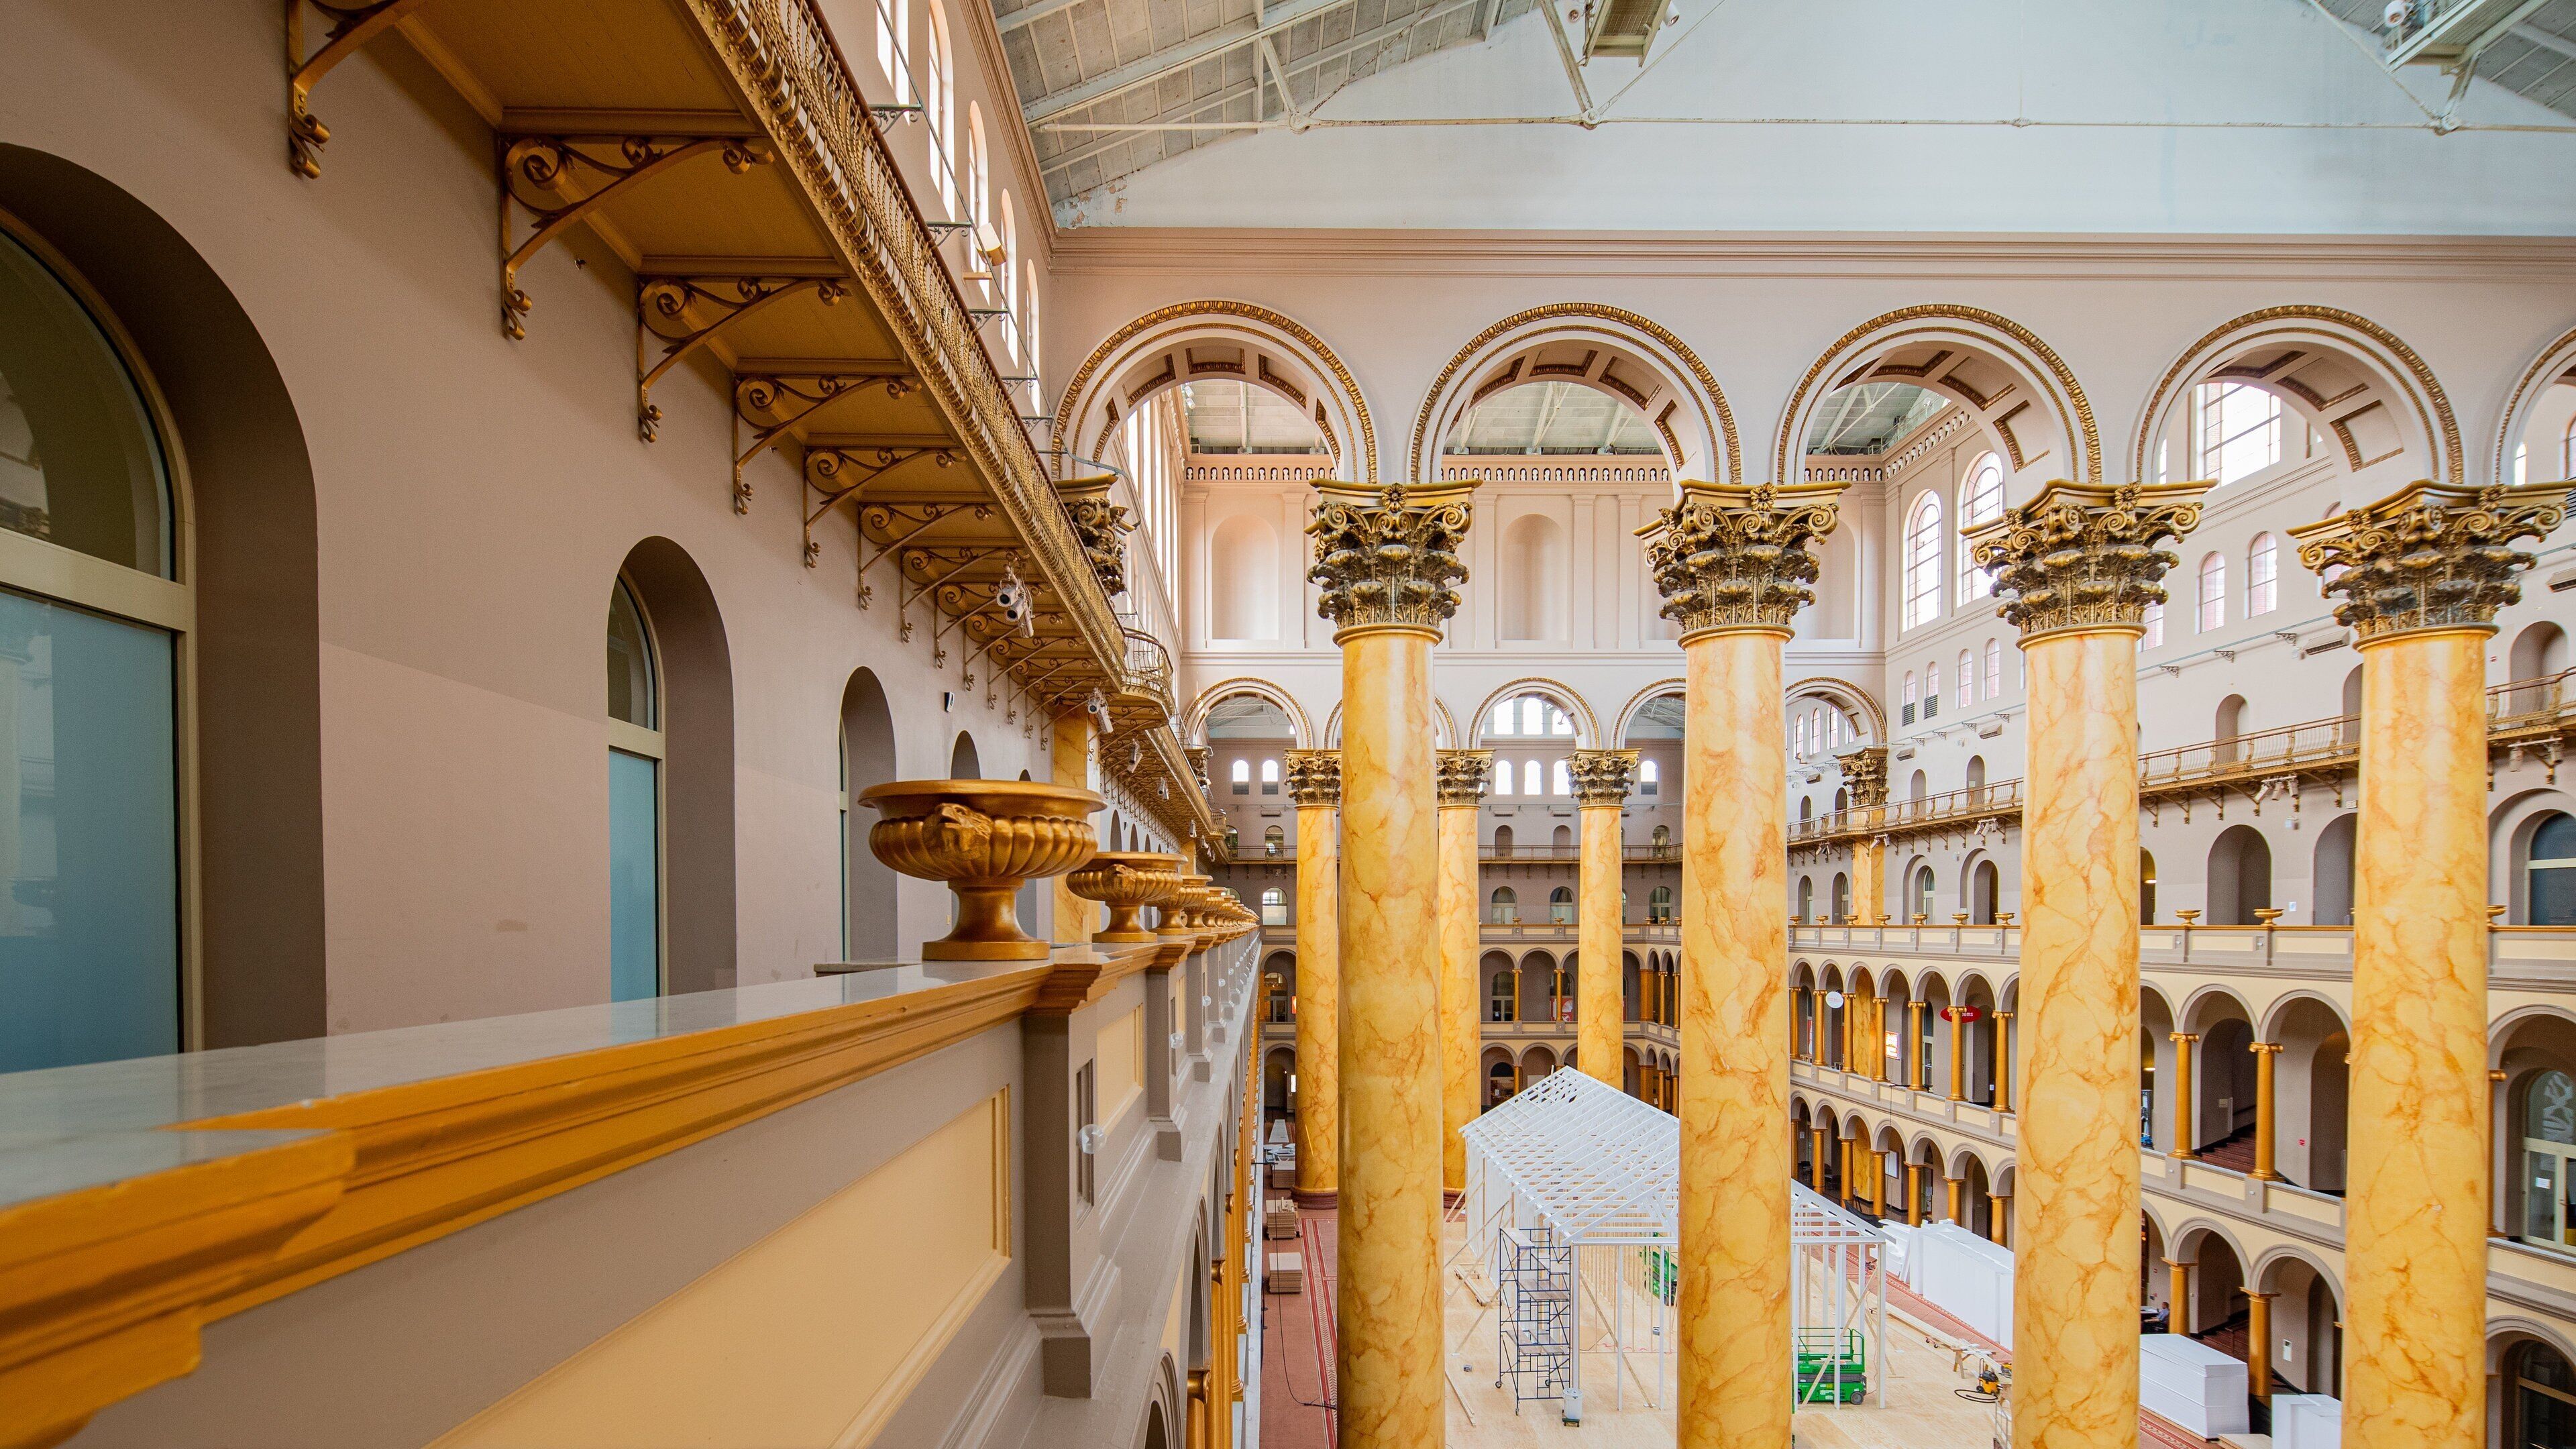
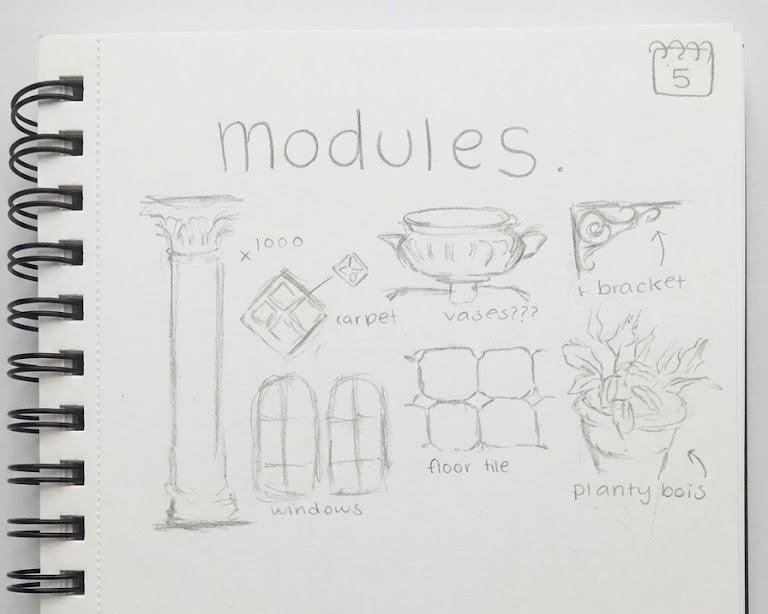
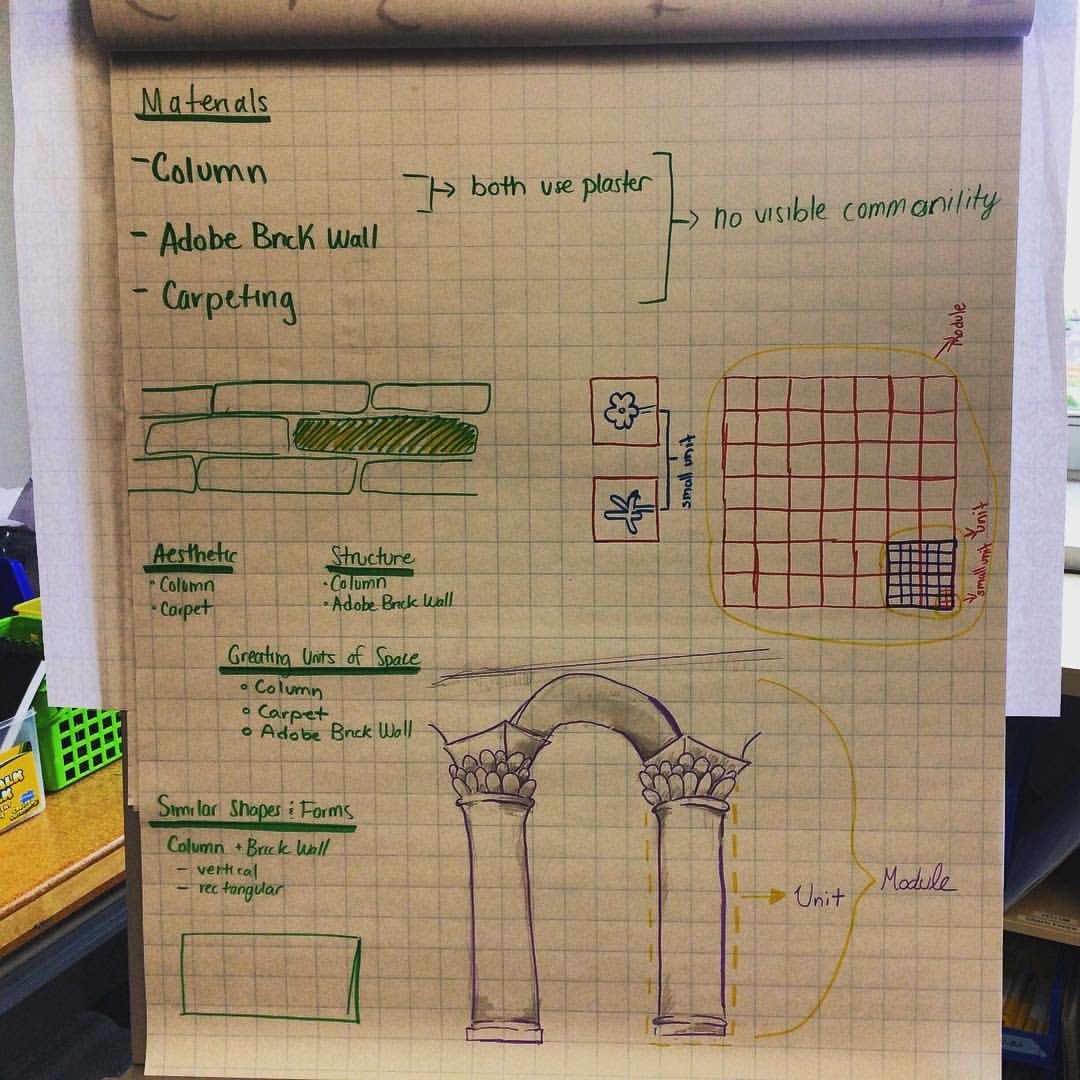
From there we walked the museum itself and looked at its own pillars: how they repeated, where they joined, what was actually carrying the load.

National Building Museum pillars, wide view

We sketched what we saw and turned those observations into quick diagrams, which is where the idea of a chair built from repeating, joinable pieces started.

Modularity within the museum
National Building Museum pillars
Turning sketches into something buildable

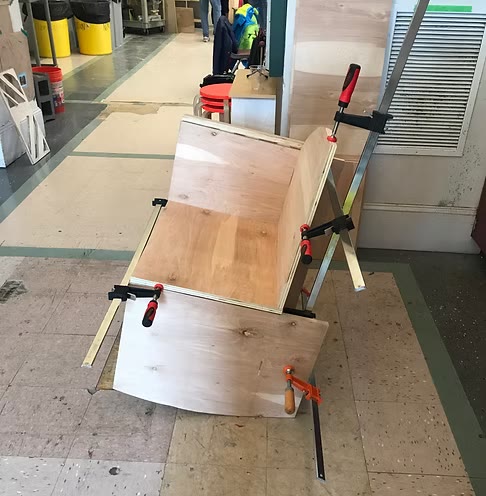
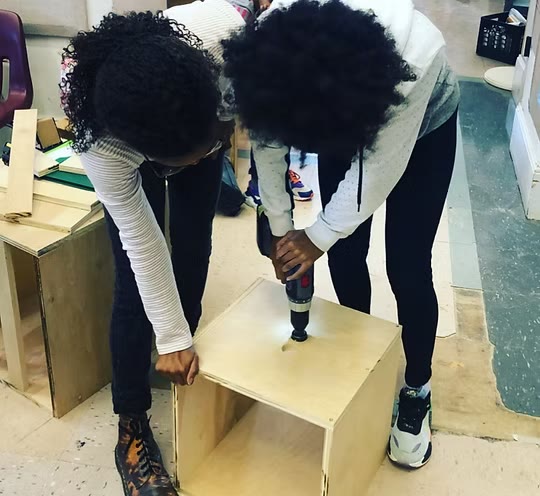
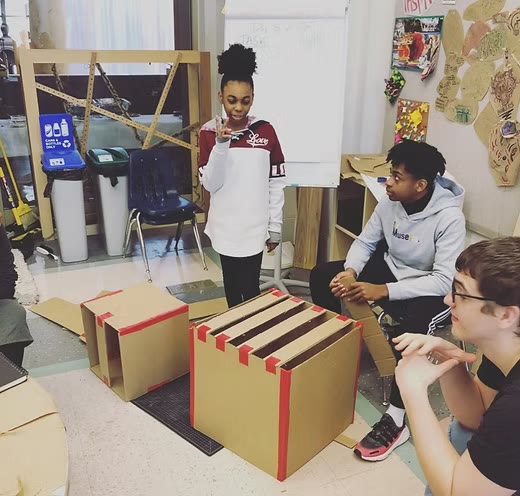
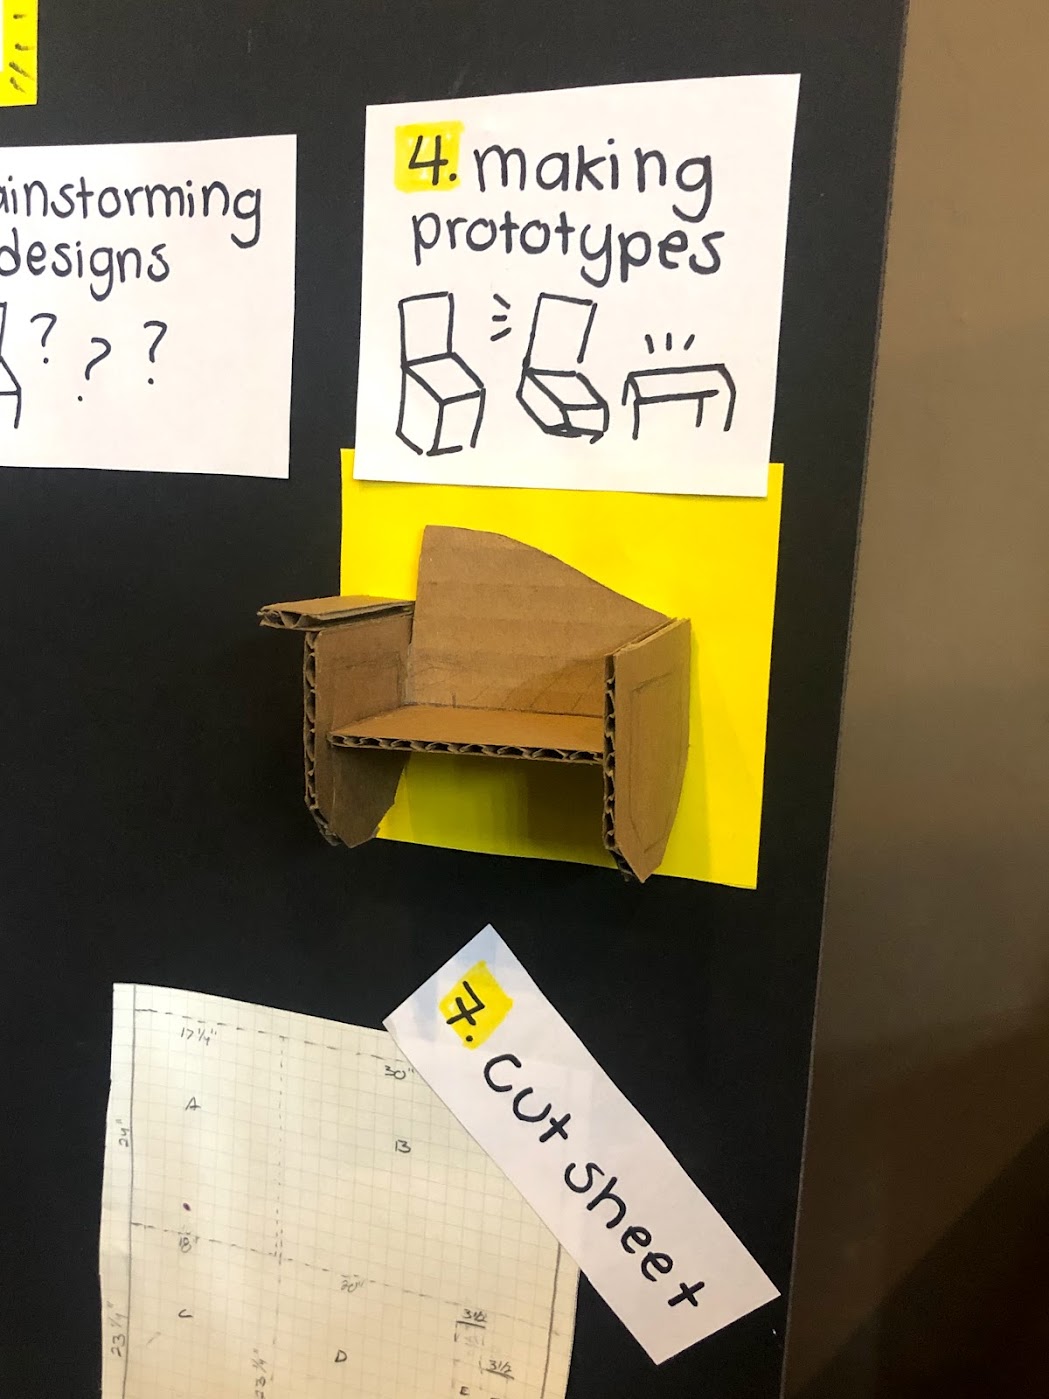
Planning the faces of the seating meant thinking in joints and grain direction; we prototyped in cheap material first, checked that the rocking motion actually felt calming instead of unstable, then moved to the real wood once we trusted the shape.

Constructing with power tools
Creating prototypes
Planning faces of the seating
Planning cutsheets

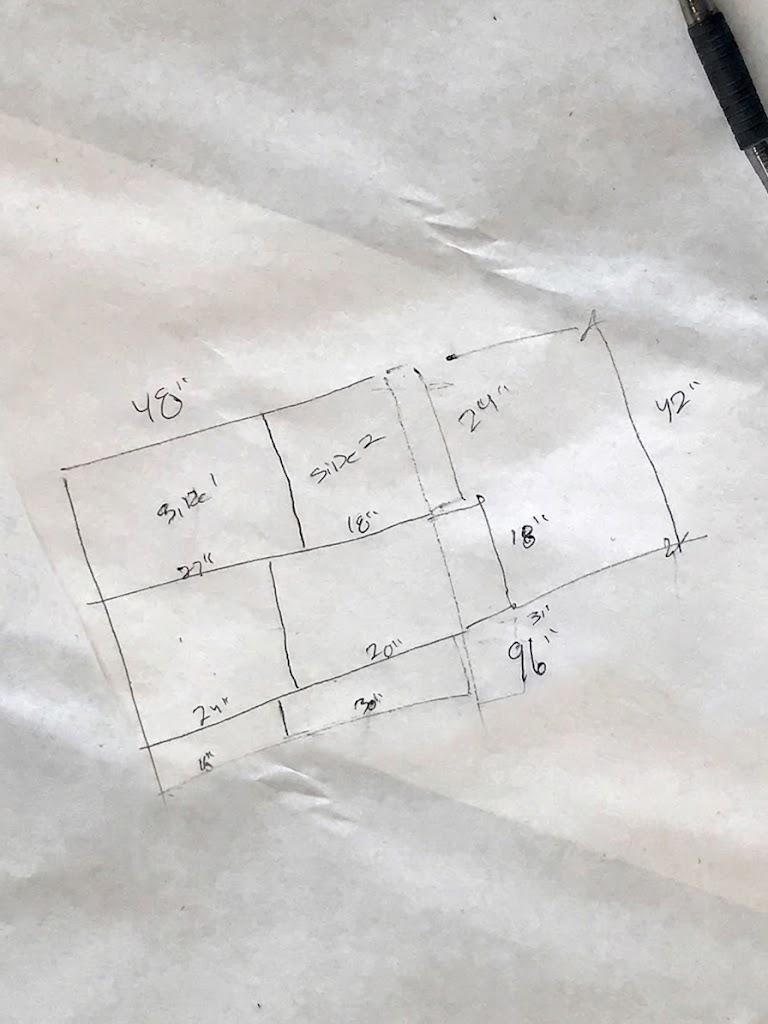
Before any wood was cut, we mapped every piece onto a cutsheet, making sure to account for the notch at the back of the chair needed to stabilize the rocking motion.
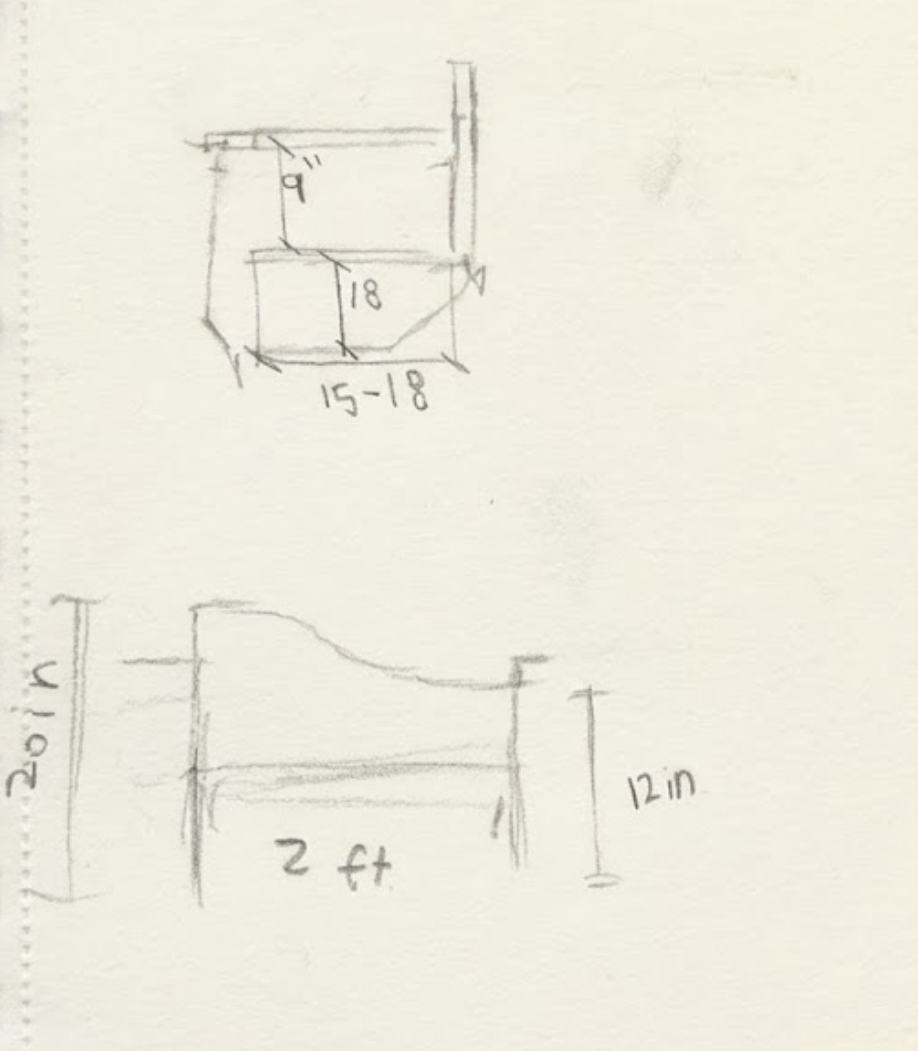
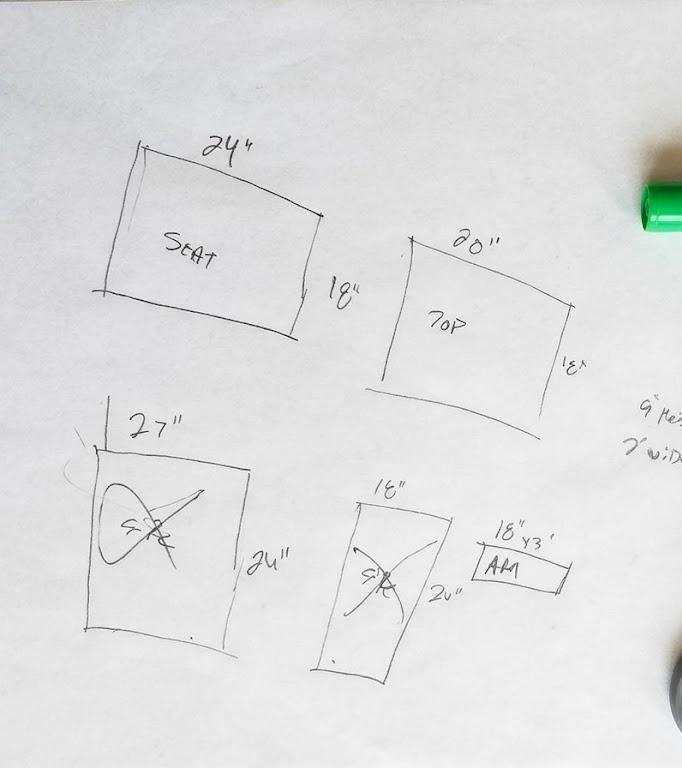
Planning the cutsheet Cutsheet notch detail Marked-up cutsheet dimensions
Joinery over screws

For the final build we used wood glue and biscuit joints instead of visible hardware, which meant every seam had to be measured and cut right the first time (there's no hiding a bad joint under a screw head).
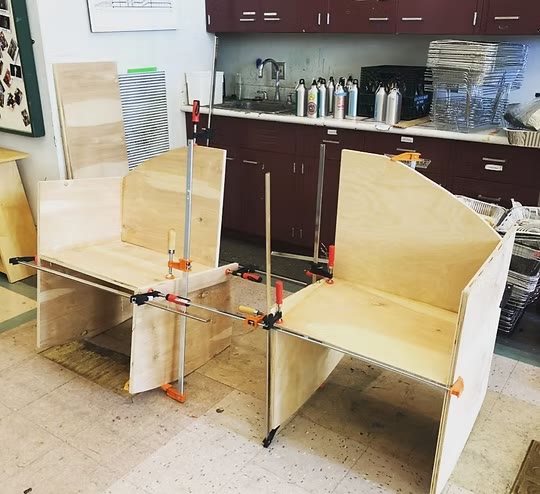
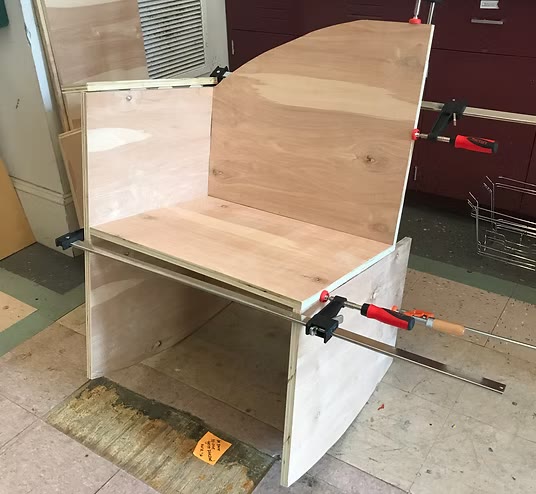
Binding glue and wooden biscuits together.

Soothing for the kid, something to do for the exhausted parent.
The solution

We placed the finished chairs directly in front of the museum's dollhouse exhibit, where kids already gravitated on their own, so the seating met their caregivers exactly where they already were.
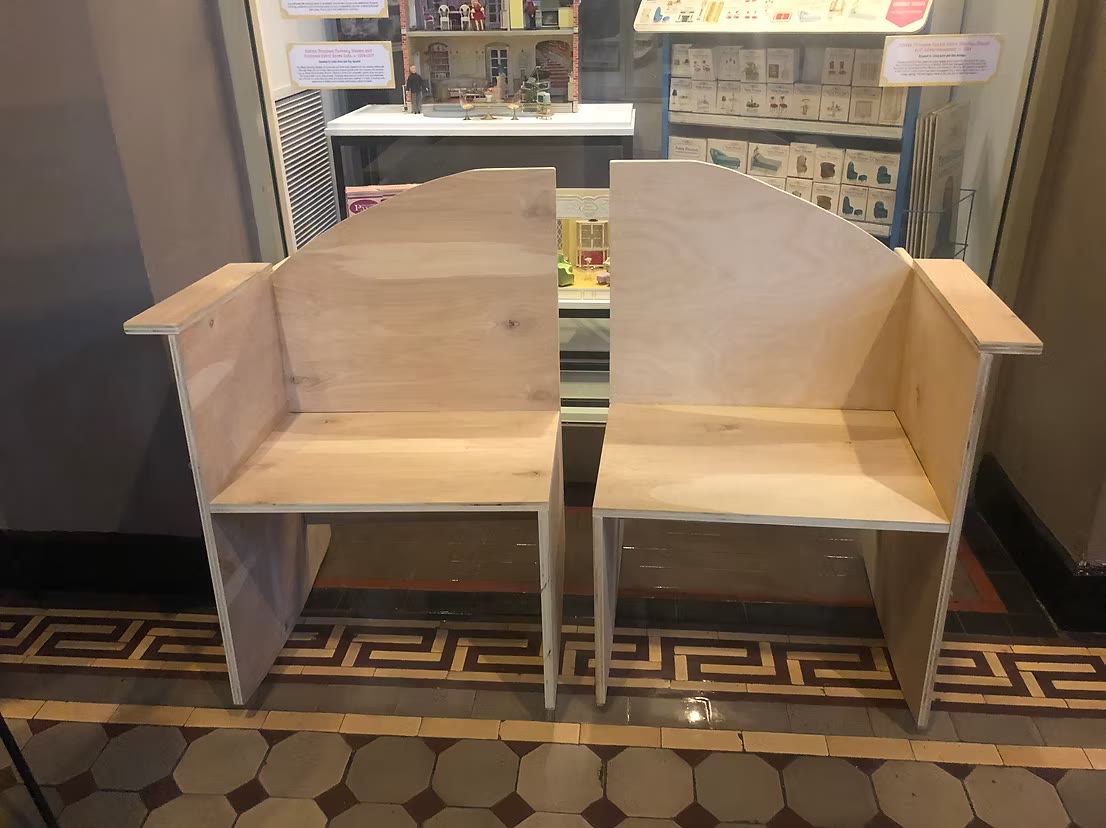
The finished rocking chairs installed in front of the museum's dollhouse exhibit
Rocking chair presentation board, page 1 Rocking chair presentation board, page 2
Presenting the rocking chair project
Trading a screen for an architect's ruler taught me how a physical space actually gets experienced, not just viewed.
Reflection
Stepping into 3D design.
Going into this internship, I was honestly pretty intimidated; I was used to 2D design, so taking on 3D carpentry felt completely out of my element. Pushing through that fear taught me so much about the physical side of crafting an experience, like proper joints, clamps, wood glue, and how things actually fit together.
How craft reshaped my perspective.
Building for a 3D space completely changed my approach to spatial planning, moving past asking if something just looks aesthetic to thinking about how a person actually experiences a space (sit in it, move around in it, and interact with it physically); that perspective is something I still use constantly in my work today.